Front lowrider rack
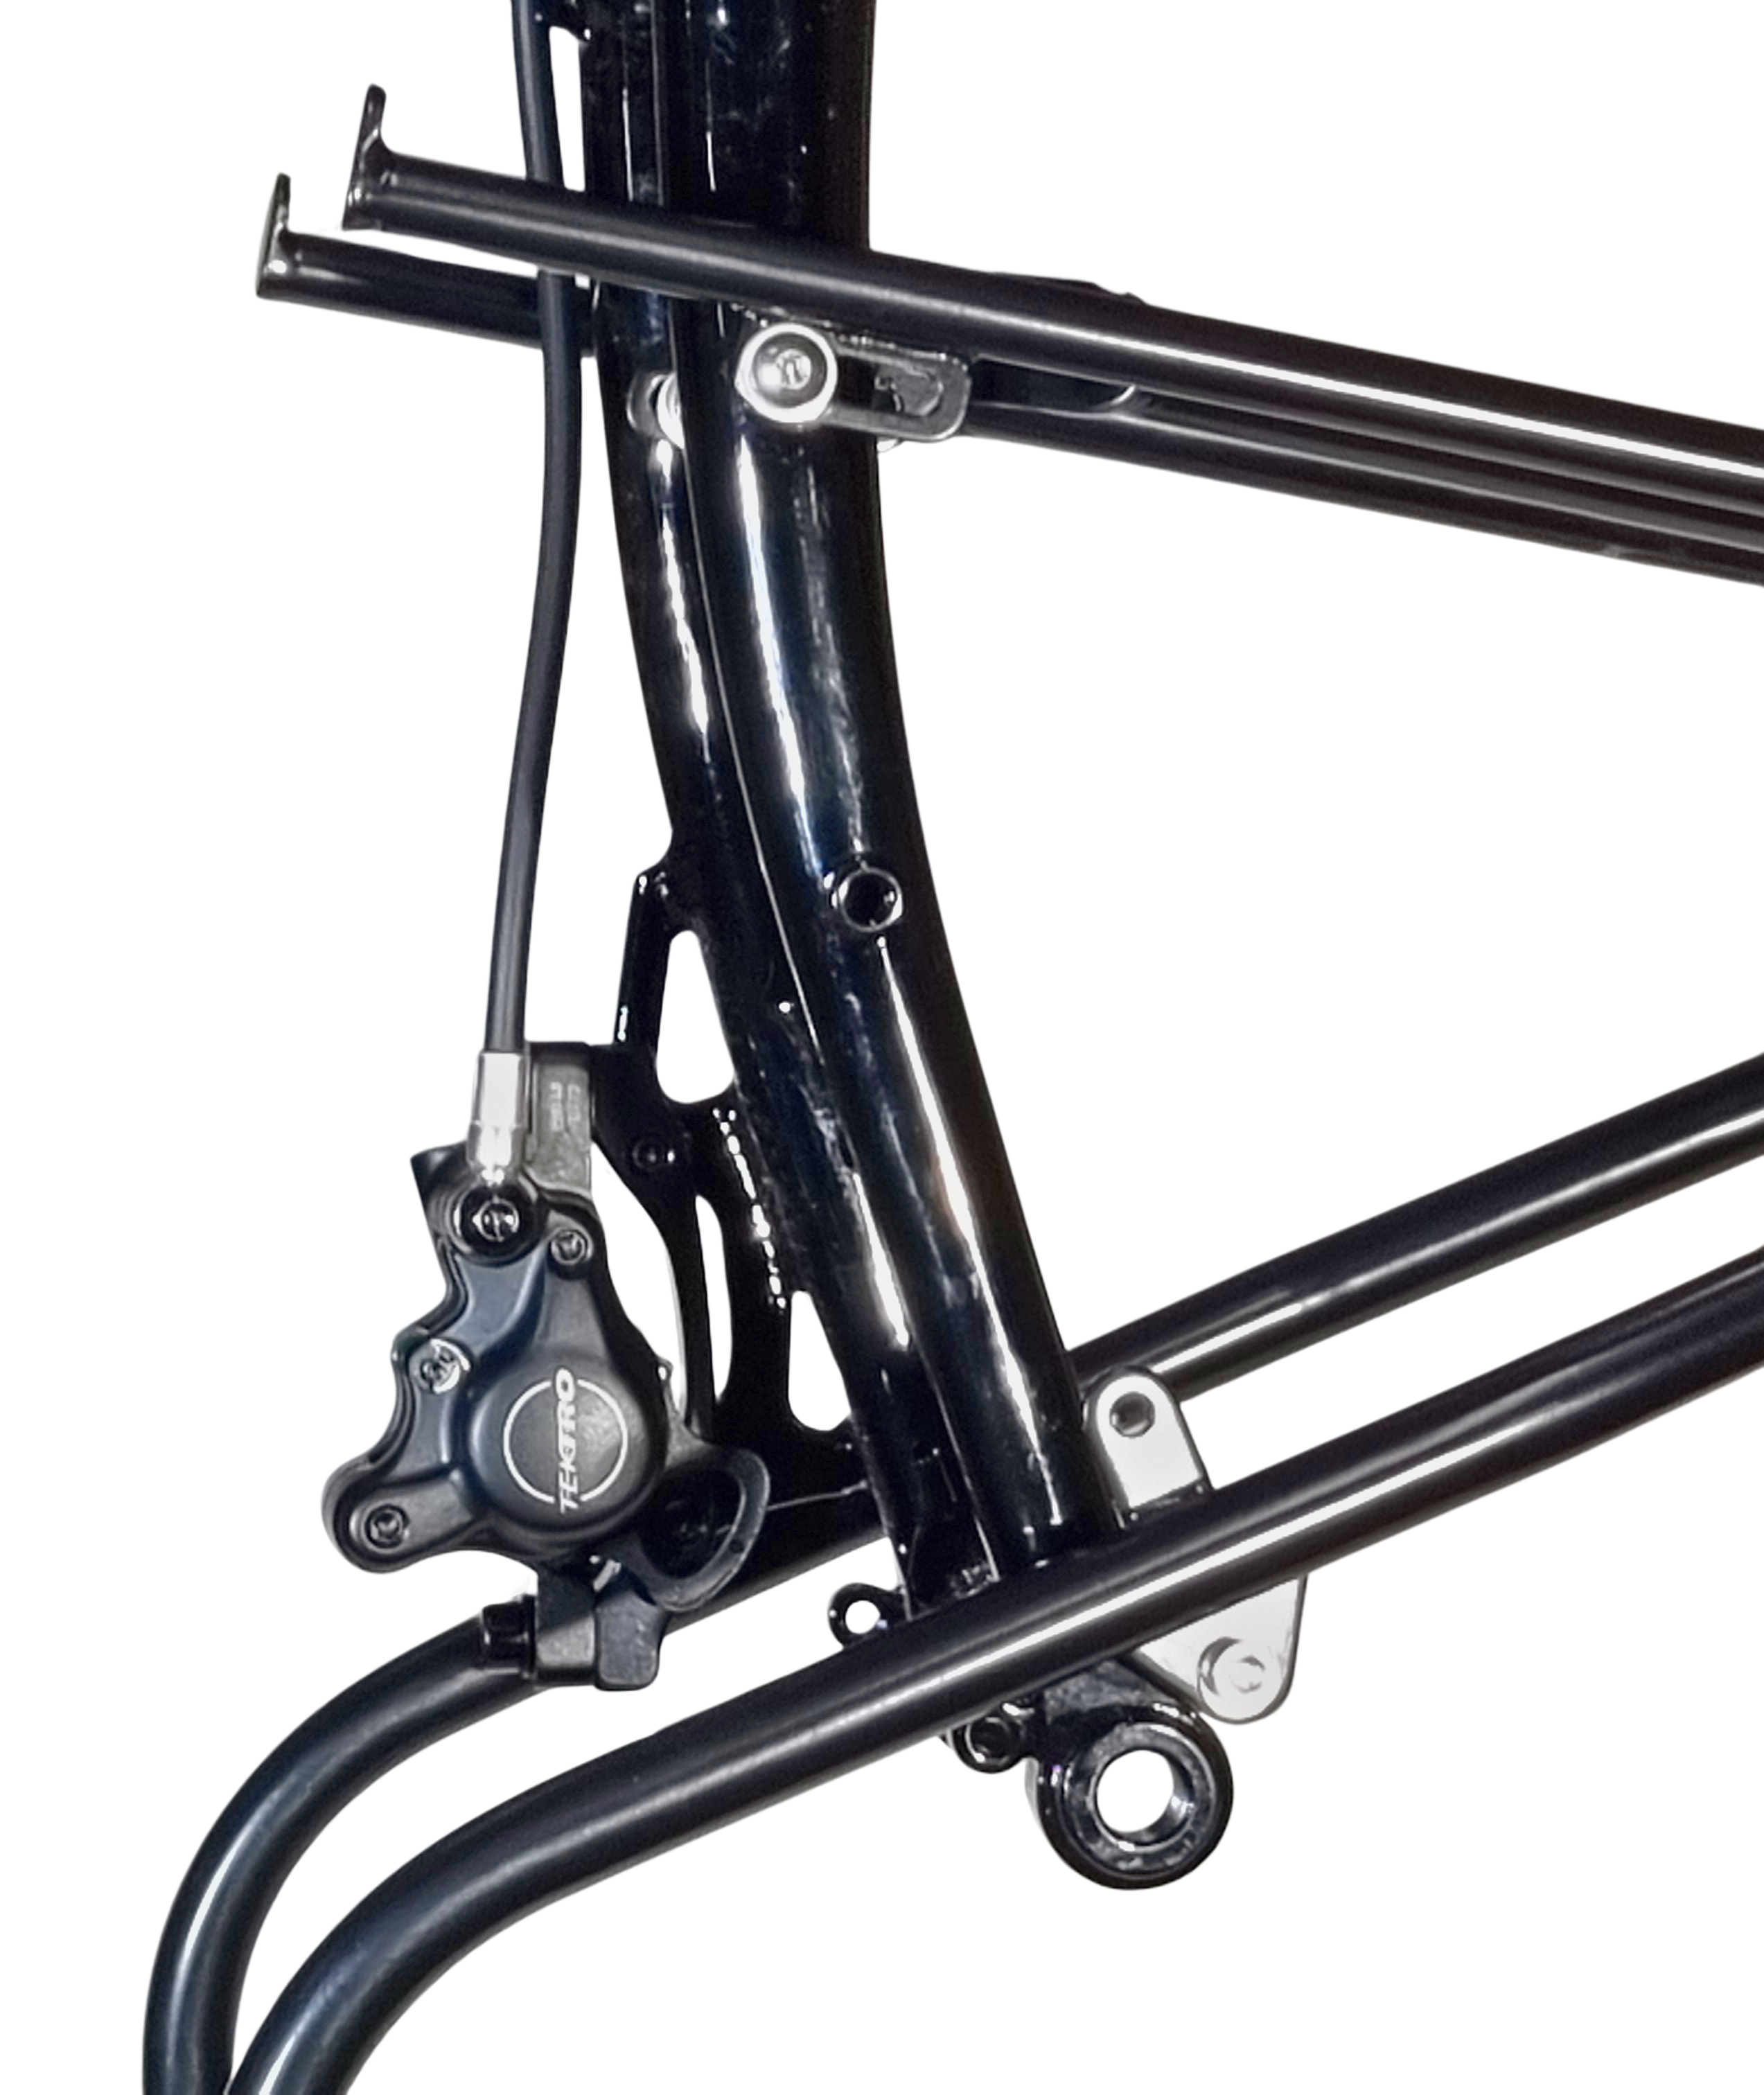
One of the front racks we recommend is the Tubus Duo. We have located attachment points on the fork blades at 165mm from the front eyelets on the fork dropouts for this purpose. Any rider who is travelling by plane with their bike and using a front rack will need to be able to remove it in the packing process and to later refit it.
The below instructions address the very first time a new Tubus Duo rack is attached to a World Randonneur .
Preliminary – You want to rack top to be level. This will mean attaching at the top towards the rear of the slot as shown in the above image. It is often necessary to slightly bend the racks to line the rear of the slots up to the holes.
Items you will use
- 3mm and 4mm hex keys for the mounting screws
- two 20mm long 5mm socket head cap screws. These come with the racks.
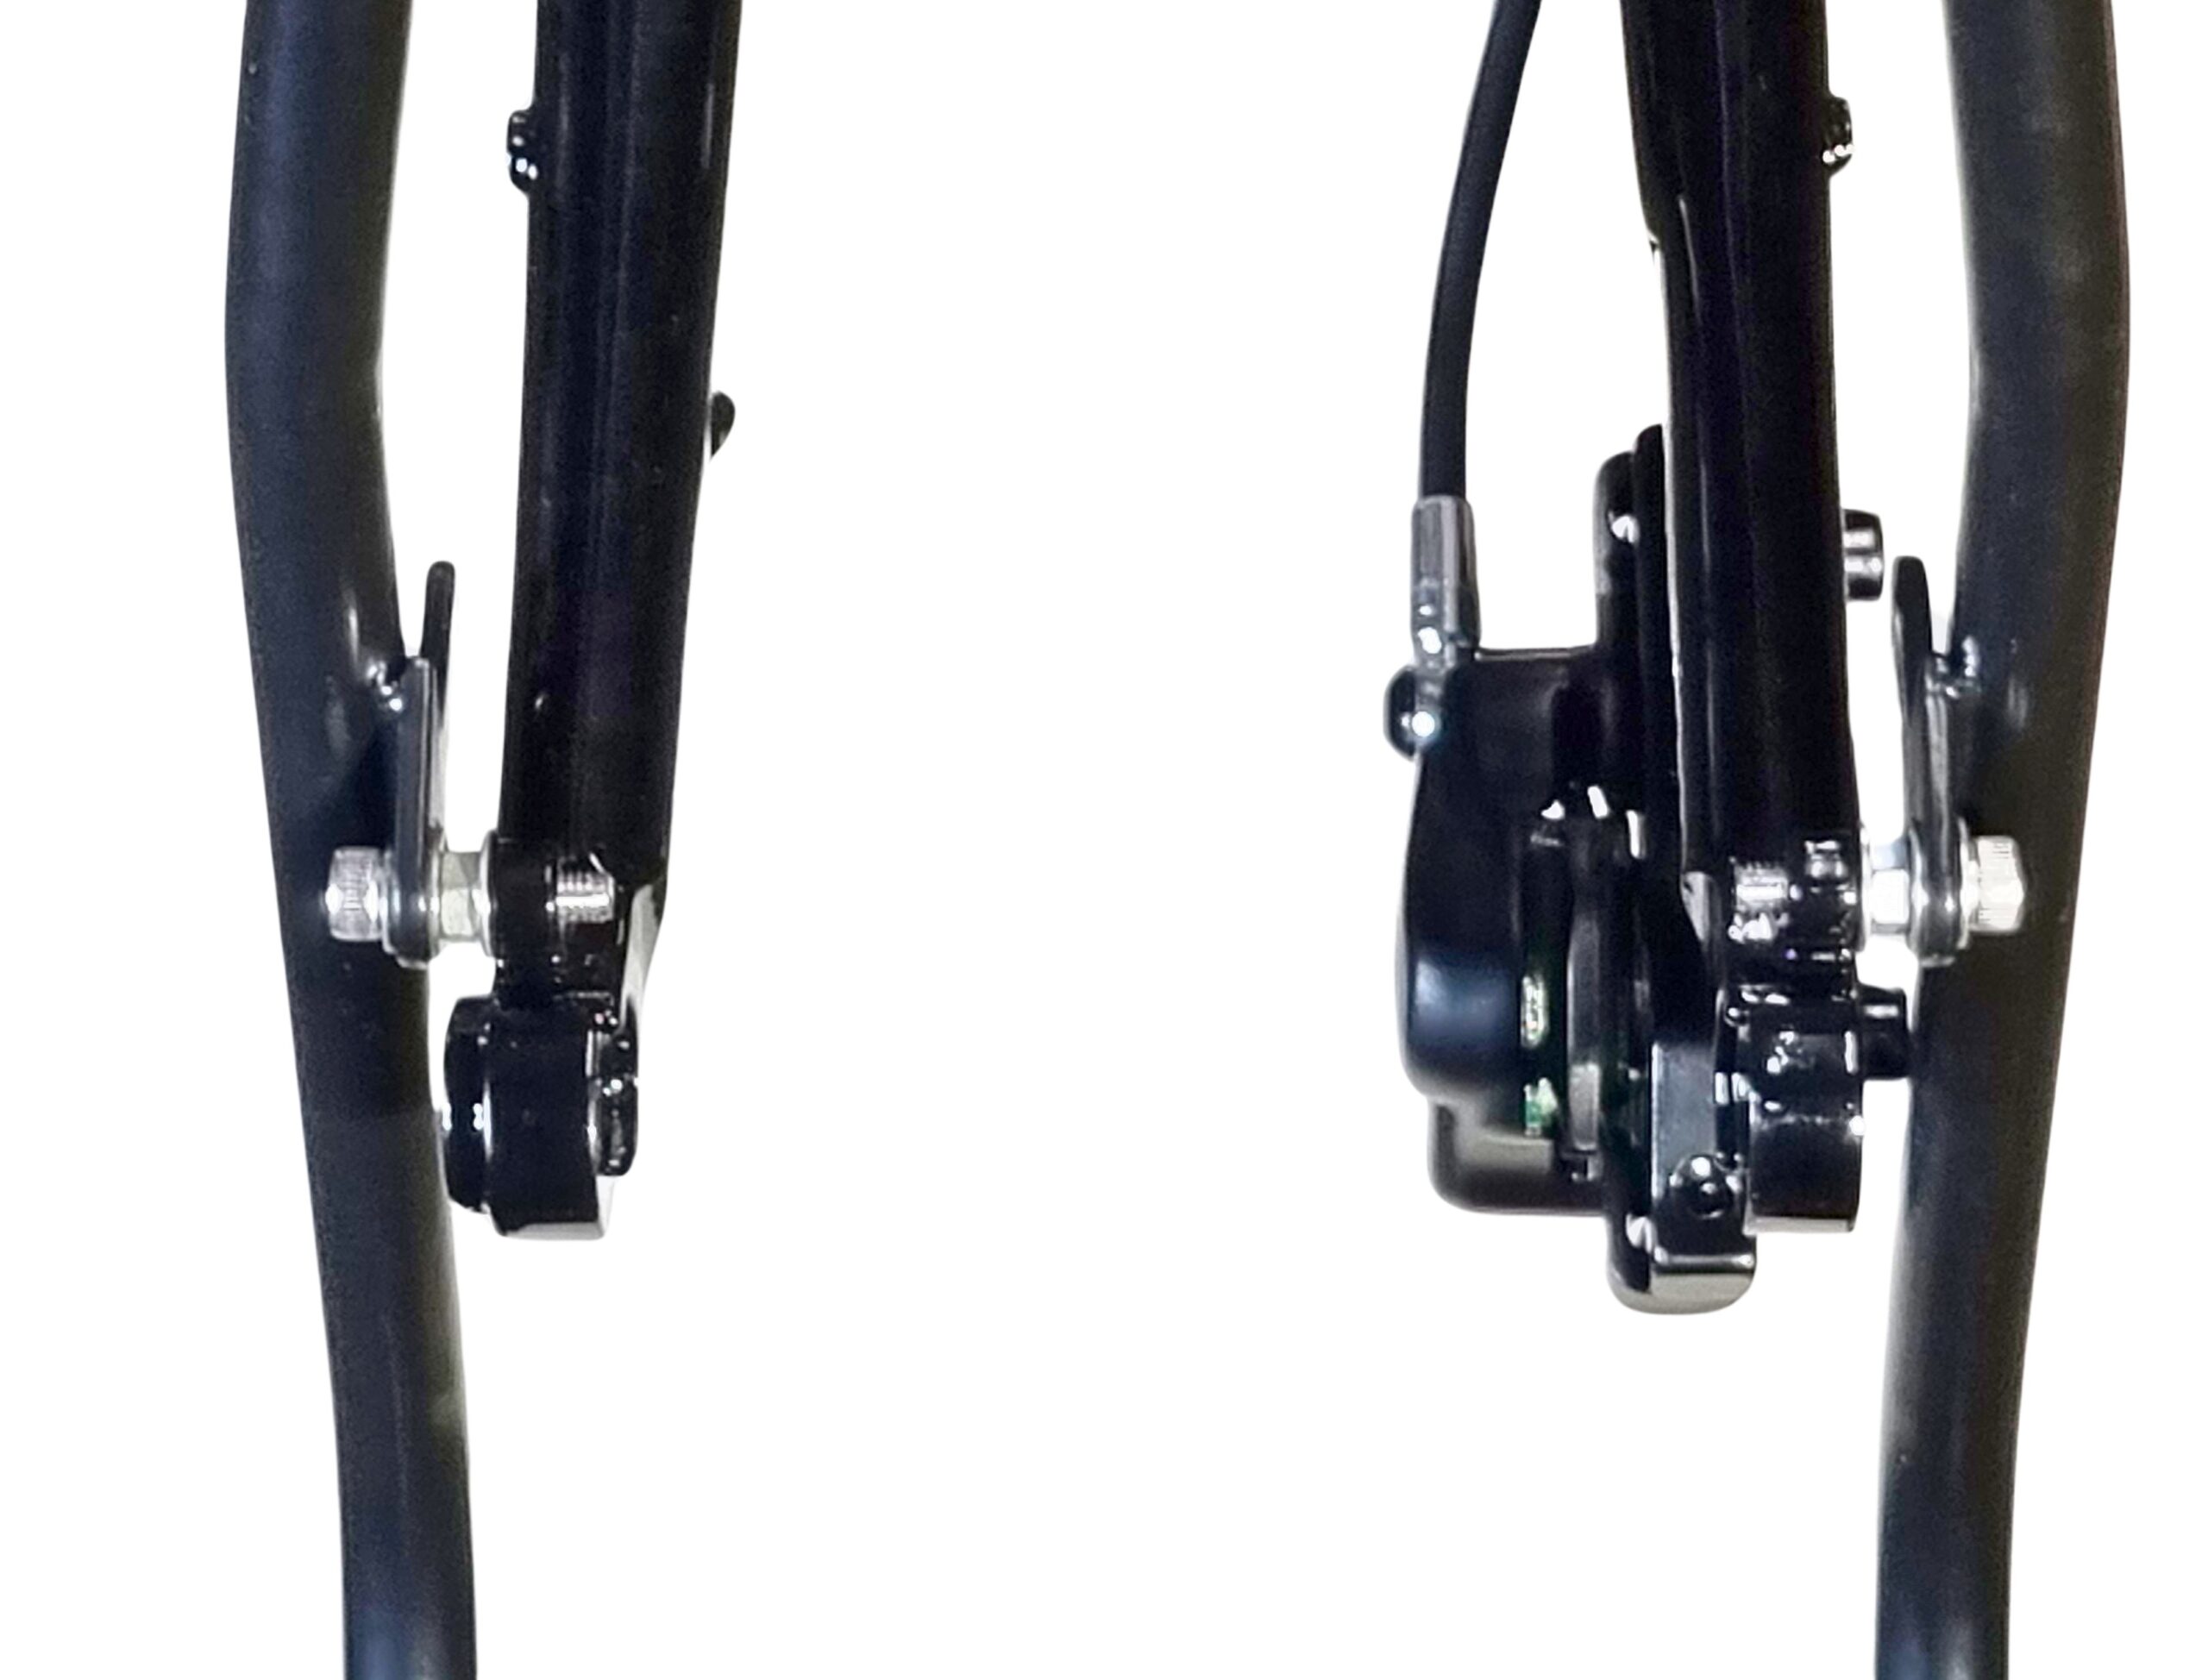
- two spacers. Tubus supplies 8mm long spacers. A washer is needed on each side so that adds up to 9.5mm which is longer than needed on Vivente forks. You can use them but 5mm of spacing between the fork eyelet and the rack is better. In the below picture we use 5mm nuts with washers on both sides.
- shorter 5mm screws for the top, as in the picture below. There are 5mm screws in the forks already and there are more in with new Duo racks.
Take care to
- Not cross thread any screw.
- Start all the screws before tightening any of them.
- During your travels, occasionally check the screws, especially in rougher country.
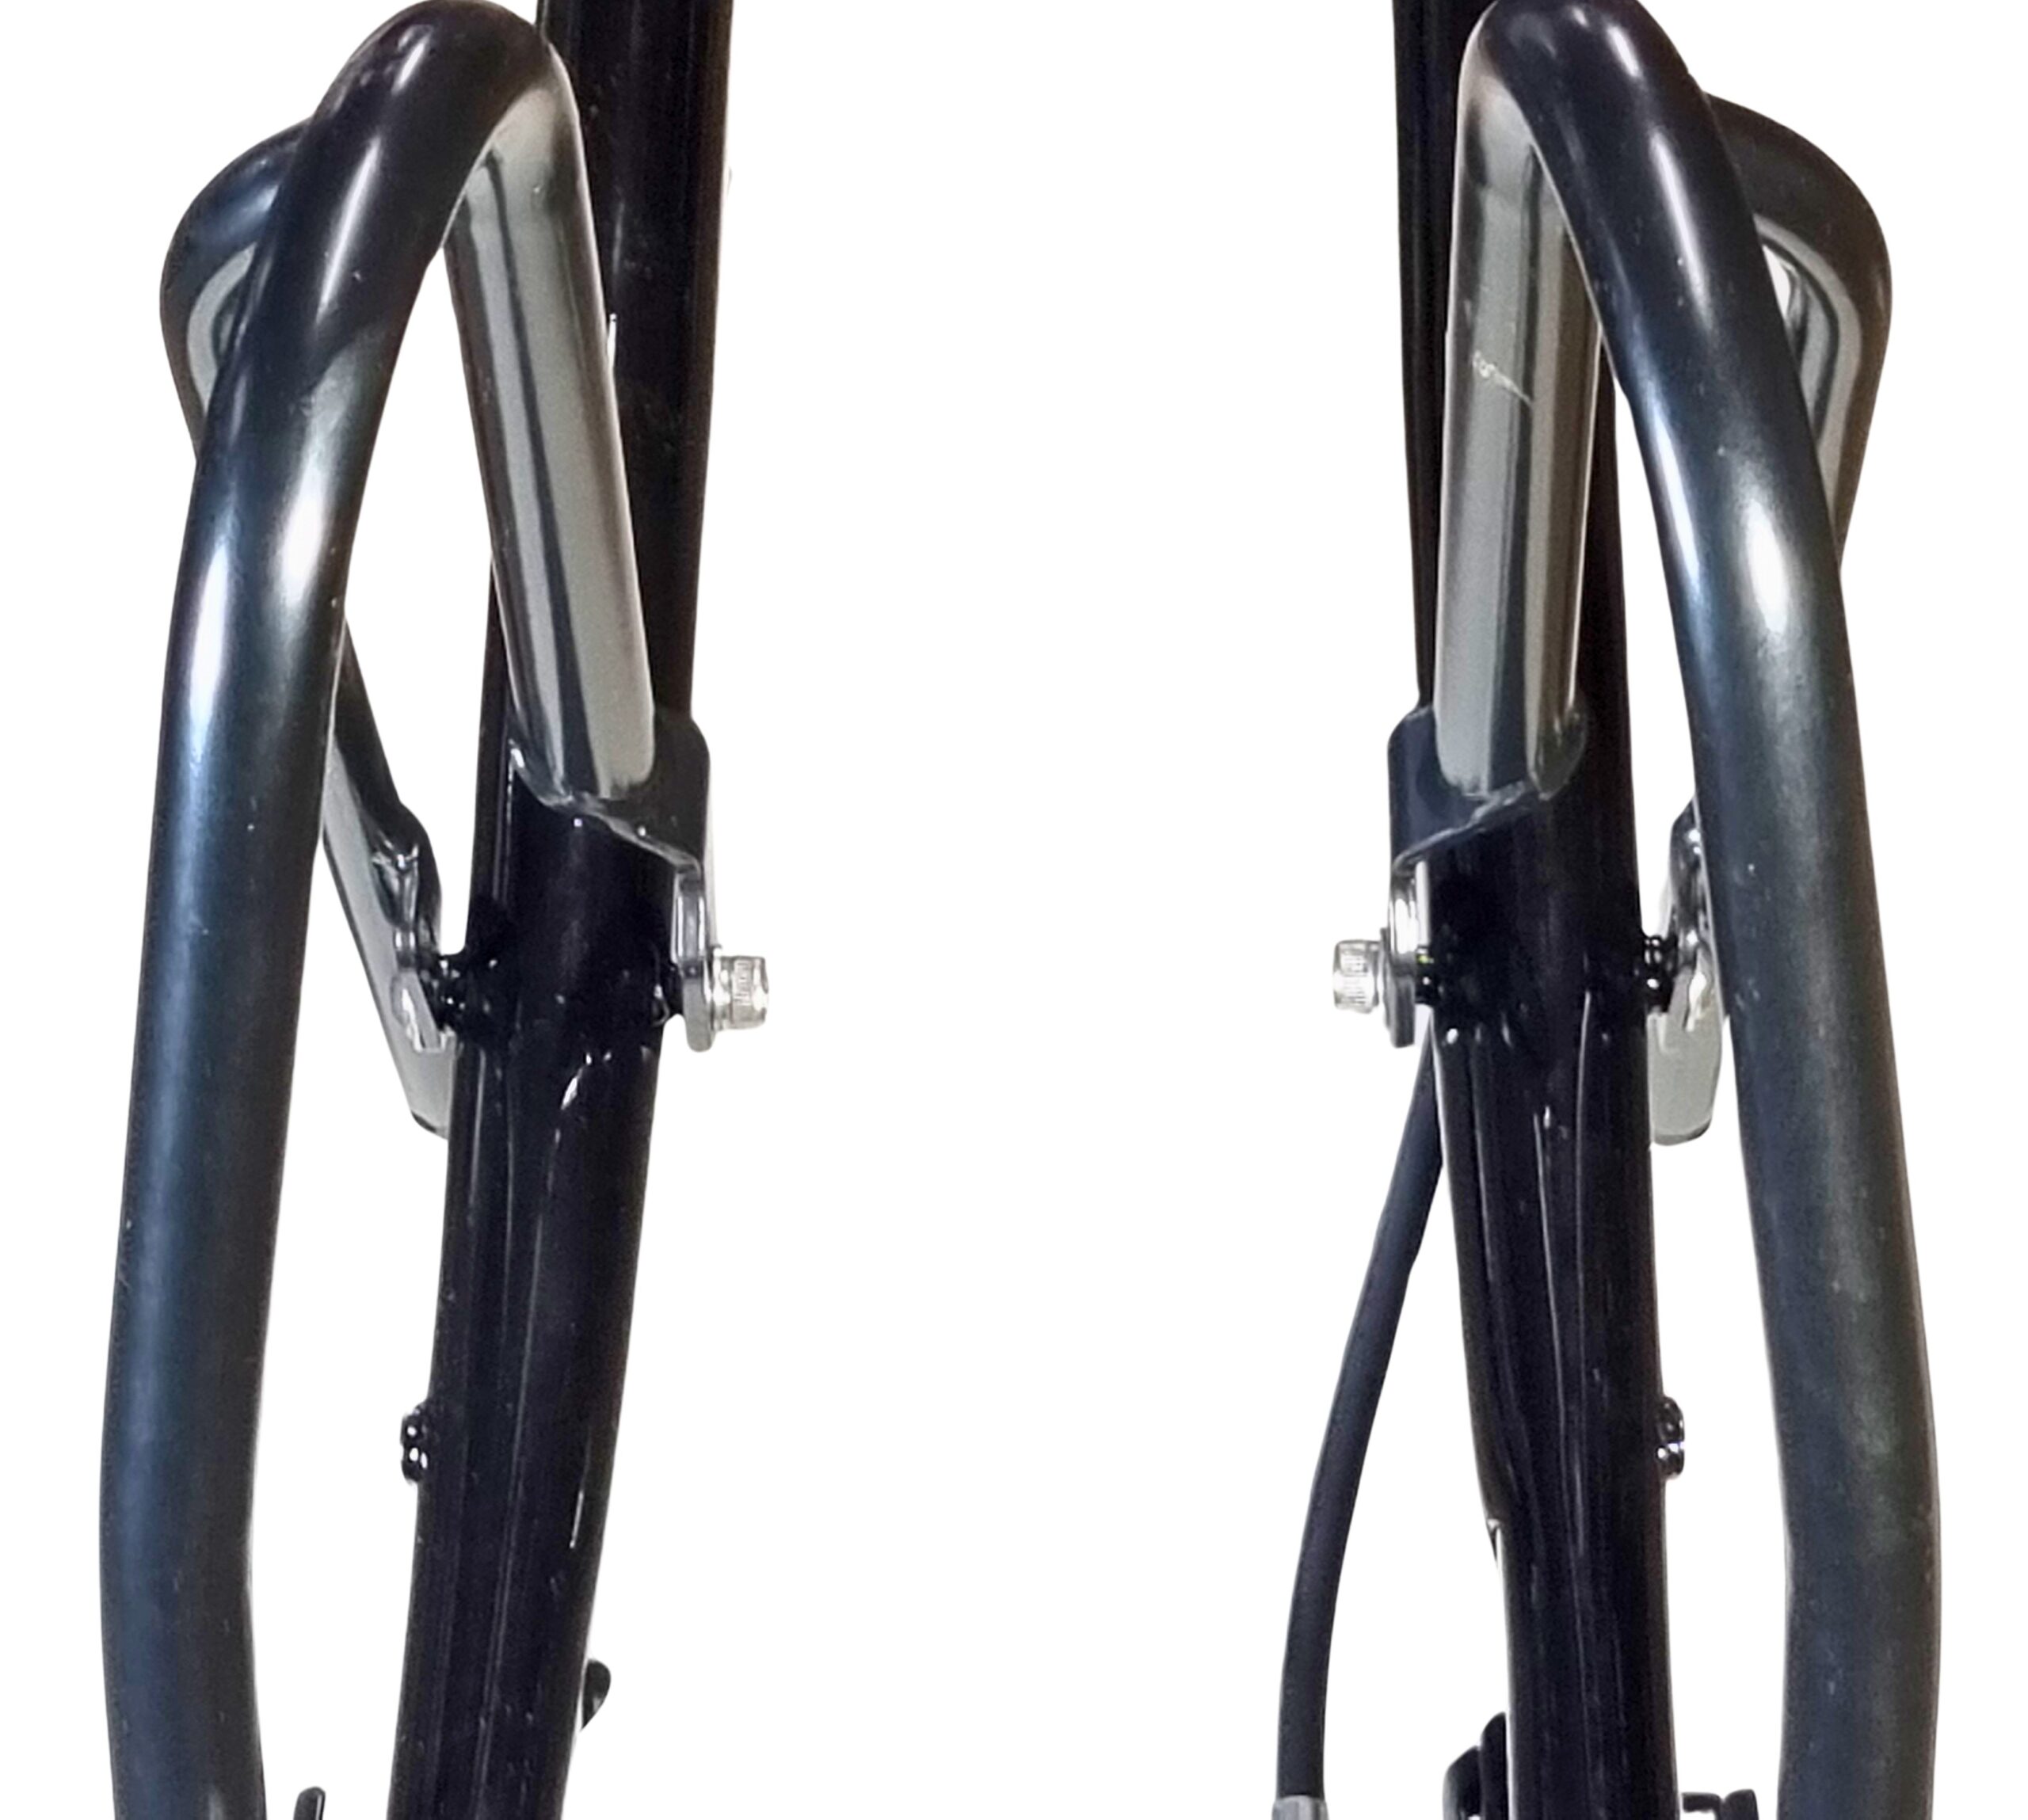
Why We Chose the Tubus Duo
We like the design of the Tubus Duo. Using three mount positions removes the hoop at the top as seen in other designs like the Tubus Tara.
It is important for travellers that use front racks and fly with their bike to be comfortable with fitting, removing and refitting the front rack. It is not hard but we encourage you to practice in advance. And always carry the short arm 3mm and 4mm hex key on trips. Avoid multi tools.